How to Calculate the Amount of Lumber for Your Next Project
Hello, fellow woodworker! Congratulations on entering the fascinating realm of CAD (Computer-Aided Design) software. Don't worry; I've got you covered if you're wondering how in the world you can utilize this sophisticated technology to calculate how much wood you'll need for your next project. Let's get started and enjoy ourselves with CAD and wood estimating!
Before we begin, let me just add that although CAD software could seem frightening at first, it's not too complicated. For many people, it could seem like rocket science, but with enough practice, you'll become proficient in CAD in no time.
Step 1: Start playing CAD
The first thing you must do is choose a CAD program that appeals to you. There are several choices available, ranging from cost-free programs like SketchUp to more sophisticated ones like AutoCAD, SolidWorks, and Fusion 360. Choose the one that is most appealing to you by conducting some research and watching a few lessons. After you have your preferred program, it's time to start practicing!
Step Two: Sketch It Out
Now for the exciting part. Start by creating a CAD design of your woodworking project. Create a digital model of your project using the software's features, including precise dimensions and measurements. Here, you may let your imagination run wild and try various designs and sizes. The more you experiment, the better you will know what will look good. At this time, you’re concerned about spitting out your ideas onto the screen. Once you’re done with that, you can then clean it up. Another option could be for you to import images of designs that you like and use those for inspiration or trace the model directly from the image.
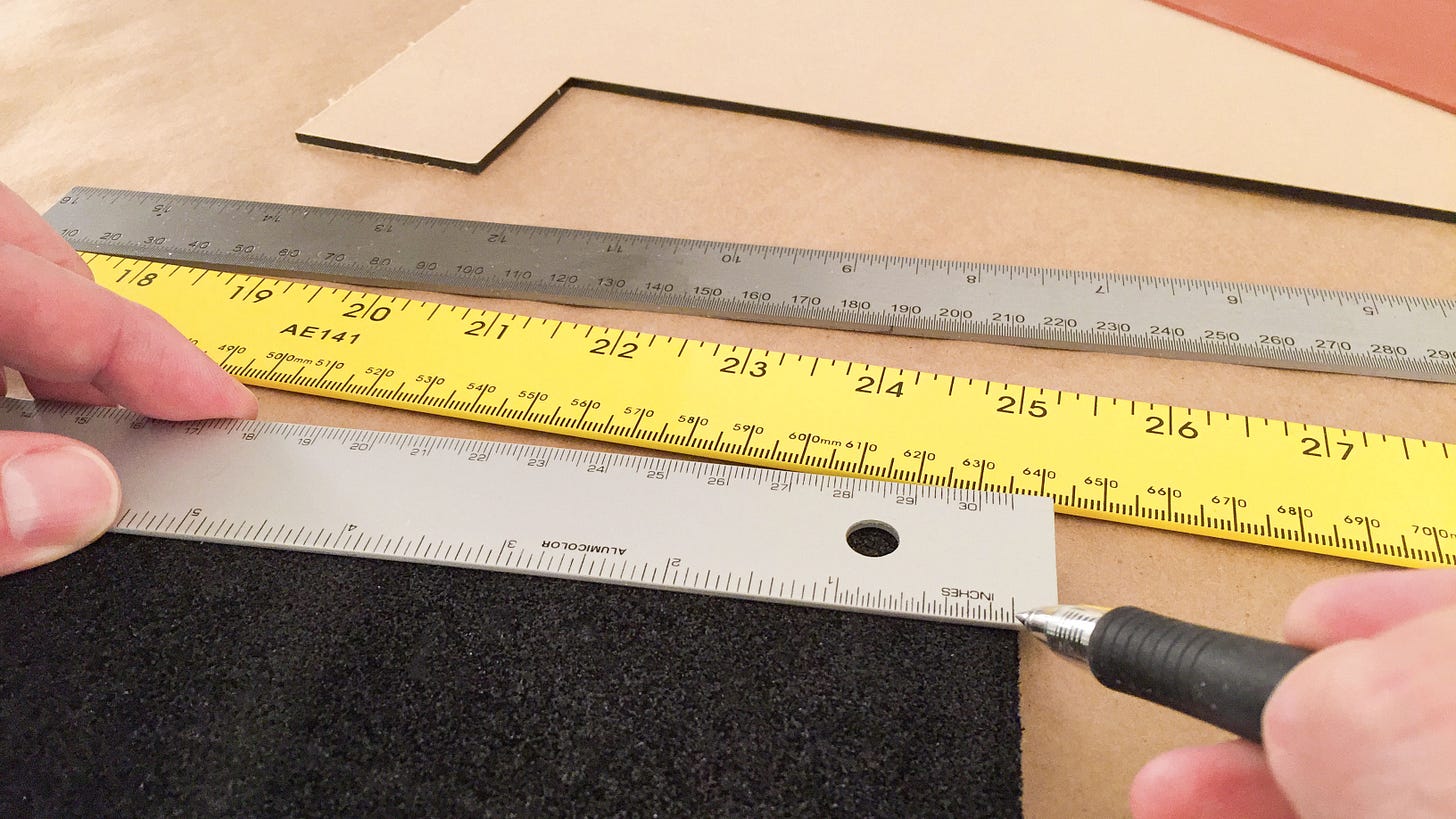
Measure twice and cut once in Step 3.
After your project is fully constructed, it's time to use the program to calculate the amount of wood you will need. Use the measuring tools provided by the program to obtain precise amounts for each piece of wood in your project. Don't forget to take into consideration any scraps that will be created through your cutting of the wood.
Step 4: Review Your Math for Woodworking
Now that you've calculated your wood requirements, it's important to look at your project realistically. Make sure your measurements and computations make sense in the actual world. Although wood comes in conventional sizes, you might need to modify your calculations in accordance with the precise measurements of the timber offered by your local supplier. You are also going to want to purchase an extra piece or two of material so that you have room for error.
Step 5: Master Woodcrafting
It's important to be accurate, but using CAD to estimate your wood needs is also an excellent chance to learn more about wood. You will gain more knowledge of wood species, grain direction, and joinery procedures as you use the program. You'll begin to acquire a sharp eye for seeing problems and coming up with creative solutions. CAD is a doorway to becoming a woodworking sorcerer, not simply a tool for wood estimating!
Step 6: Take on the woodworking adventure
Last but not least, keep in mind that working with wood is an adventure and that CAD is the only tool you may use. Accept learning as a process, be willing to try new things, and don't be scared to fail. We all have failed, and that is what builds skill and memory. Crafts like woodworking demand experience, perseverance, and the ability to laugh when things don't go as planned. So experiment with your CAD abilities, have fun, and let your imagination run wild!
That's it! It may at first appear difficult to use CAD software to calculate the quantity of wood you'll need for your next project, but with a little practice and humor, you'll be an expert at calculating the amount of wood you'll need in no time. Therefore, open your CAD program, sketch it out, double-check your arithmetic, learn about woodworking, and embrace the process.


